Learn how to create a simple calculator app from scratch. This comprehensive guide covers UI design, logic, and code for beginners.
Build Your Own Simple Calculator App: The Ultimate Guide to Logic and Design
Every master woodworker starts by building a simple box. In the world of software engineering, that “box” is a simple calculator app. It might seem basic—after all, our phones have had them for decades—but underneath those buttons lies the fundamental DNA of almost every complex application ever written.
If you have ever wondered how a computer takes a physical click and turns it into a mathematical certainty, you’re in the right place. In this guide, we aren’t just going to show you how to build a simple calculator app; we are going to explore the architecture, the pitfalls of floating-point math, and the user experience (UX) secrets that separate a clunky tool from a professional application.
By the end of this article, you’ll have a deep understanding of how to bridge the gap between a visual interface and the logical “brain” of a program.
What is a Simple Calculator App?
At its core, a simple calculator app is a software application designed to perform basic arithmetic operations: addition, subtraction, multiplication, and division.
While advanced versions (scientific calculators) handle calculus or trigonometry, the “simple” version focuses on the Input-Process-Output (IPO) model.
- Input: The user taps numbers and operators.
- Process: The logic engine calculates the result.
- Output: The screen updates to show the answer.
It is the perfect “Hello World” project for intermediate developers because it requires you to manage State—the memory of what the user clicked previously versus what they are clicking now.
Why is Building a Calculator Important?
You might ask, “Why should I spend time on this when there are a million calculator apps already?”
Building a simple calculator app is a rite of passage for three major reasons:
1. Mastering Event Handling
You have to teach your program to “listen.” Whether it’s a mouse click on a browser or a finger tap on a screen, managing dozens of different buttons without writing redundant code is a massive lesson in efficiency.
2. Understanding Data Types
In a calculator, “5” + “5” could equal “10” (math) or “55” (string concatenation). Learning how to convert text inputs into numbers and back again is a skill you will use in every project for the rest of your career.
3. Logic Flow and Edge Cases
What happens if someone clicks the decimal point twice? What if they try to divide by zero? A calculator forces you to think like a debugger before you even start writing code.
Core Concepts Explained: Step-by-Step
Before we touch the code, let’s break down the “Brain” of our simple calculator app.
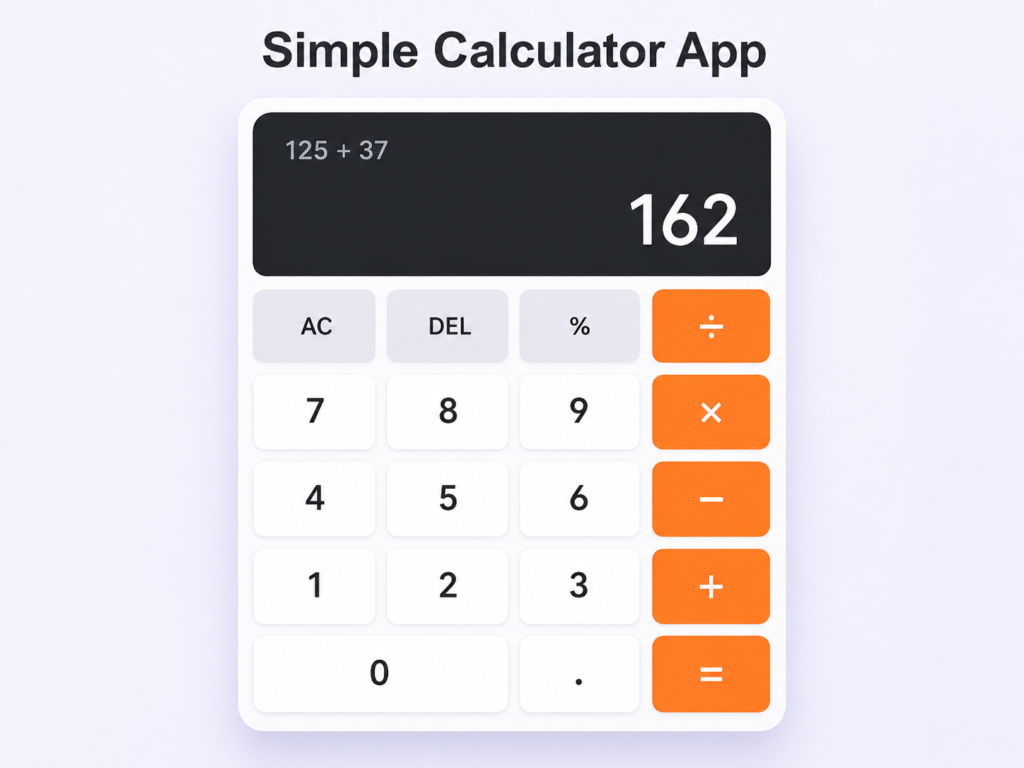
Step 1: The User Interface (UI) Layout
A calculator is essentially a grid. We need a “Display” at the top and a “Keypad” at the bottom. In web development, we use CSS Grid or Flexbox to keep these buttons perfectly aligned.
Step 2: The State Machine
A calculator is always in a “state.”
- State A: Waiting for the first number.
- State B: Storing the operator (like + or -).
- State C: Waiting for the second number.
- State D: Displaying the result.
Your code needs variables to hold these pieces of information. If you lose track of the “state,” your calculator becomes a random number generator.
Step 3: The Parsing Logic
When a user clicks 1, then 2, then +, the calculator shouldn’t just think “1” and “2.” it needs to append them to form “12.” This involves string manipulation, which is a core skill in any programming language.
Practical Example: A Web-Based Calculator
Let’s look at a clean, modern implementation using HTML, CSS, and JavaScript. This is the gold standard for learning because you can see the results instantly in your browser.
The Skeleton (HTML)
We need a container to hold our display and our buttons.
<div class="calculator">
  <div id="display">0</div>
  <div class="buttons">
    <button class="operator" onclick="clearDisplay()">C</button>
    <button onclick="appendNumber('7')">7</button>
    <button onclick="appendNumber('8')">8</button>
    <button onclick="appendNumber('9')">9</button>
    <button class="operator" onclick="setOperator('/')">/</button>
    <button class="equals" onclick="calculate()">=</button>
  </div>
</div>
The Logic (JavaScript)
Here is where the magic happens. We need to handle the numbers and the math.
let currentInput = "";
let previousInput = "";
let operator = null;

function appendNumber(number) {
    // Prevent multiple decimals
    if (number === '.' && currentInput.includes('.')) return;
    currentInput += number;
    updateDisplay();
}

function setOperator(op) {
    if (currentInput === "") return;
    operator = op;
    previousInput = currentInput;
    currentInput = "";
}

function calculate() {
    let result;
    const prev = parseFloat(previousInput);
    const current = parseFloat(currentInput);

    switch (operator) {
        case '+': result = prev + current; break;
        case '-': result = prev - current; break;
        case '*': result = prev * current; break;
        case '/':
            if(current === 0) {
                alert("Cannot divide by zero!");
                return;
            }
            result = prev / current;
            break;
        default: return;
    }
    currentInput = result.toString();
    operator = null;
    updateDisplay();
}

function updateDisplay() {
    document.getElementById('display').innerText = currentInput || "0";
}
Common Mistakes to Avoid
- Floating Point Errors: In many languages, 0.1 + 0.2 does not equal 0.3. It equals 0.30000000000000004. For a simple calculator app, you should use a function like .toFixed(10) to round the result and keep it clean.
- String Concatenation Bugs: If you forget to use parseFloat() or Number(), your calculator might think 5 + 5 = 55. Always verify your data types!
- Global Variable Chaos: As your app grows, having variables floating around everywhere makes it hard to debug. Try to wrap your calculator logic inside an object or a class.
- Ignoring the “Clear” Button: It sounds silly, but many beginners forget to provide a way to reset the state. A calculator you can’t reset is a calculator you can’t use twice.
Pro Tips & Best Practices
💡 Pro Tip: Keyboard Support
A professional simple calculator app shouldn’t just work with mouse clicks. Add an “Event Listener” to the window so that users can use their physical number pad. It makes the app feel 10x more premium.
Use CSS Variables for Theming
Want a “Dark Mode” calculator? Use CSS variables for your colors.
:root {
  --bg-color: #ffffff;
  --btn-color: #f0f0f0;
}
[data-theme='dark'] {
  --bg-color: #222222;
  --btn-color: #333333;
}
The “Equal” Habit
Ensure that if a user hits “Equals” multiple times, it doesn’t break. Some professional calculators repeat the last operation (e.g., hitting = repeatedly keeps adding 5). This is a great “intermediate” feature to add.
Real-World Use Cases
While a simple calculator app is a great learning tool, the logic you learn applies to:
- Checkout Systems: Calculating the total of a shopping cart with tax and discounts.
- Financial Dashboards: Converting currencies or calculating interest rates.
- Game Development: Calculating health points, damage multipliers, and coordinates.
- Construction Apps: Quick area and volume calculators for contractors on-site.
Mini Project: The “Tip Calculator” Upgrade
Once you’ve mastered the basic arithmetic, try upgrading your project. A “Tip Calculator” is a highly practical variation.
- Input 1: Total Bill Amount.
- Input 2: Percentage of tip (10%, 15%, 20%).
- Input 3: Number of people to split the bill.
- The Logic: (Bill * Tip%) / People.
Adding these extra inputs teaches you how to manage multiple “State” values simultaneously, which is a huge step up from a standard calculator.
Frequently Asked Questions (FAQs)
1. Which language is best for building a calculator?
If you want to see it on the web, JavaScript is the best. If you want a desktop app, Python (with Tkinter) or C# (with WPF) are fantastic choices.
2. How do I handle very large numbers?
Standard numbers in JavaScript lose precision after 16 digits. For a truly professional app, look into libraries like Big.js or Decimal.js to handle massive calculations.
3. Can I build a calculator without using eval()?
Yes! In fact, never use eval(). It is a security risk and bad practice. Always write your own logic using a switch statement or an object mapping to handle operations.
4. How do I make the calculator responsive?
Use Percentage widths or CSS Grid with grid-template-columns: repeat(4, 1fr);. This ensures your calculator looks just as good on an iPhone as it does on a 4K monitor.
5. What is the hardest part of building a calculator?
Handling the “History.” If you want to show a list of previous calculations (like a tape), you have to learn how to work with Arrays and Local Storage.
Conclusion
Building a simple calculator app is more than just a coding exercise; it’s an exploration of how humans interact with machines. You’ve learned about UI structure, state management, handling user input, and the importance of avoiding common logic traps.
The beauty of programming is that there is always a “Version 2.0.” Now that you have the basics down, could you add a history log? Could you add a “Scientific Mode” with square roots? The logic you’ve mastered today is the foundation for every app you will build in the future.
Start practicing now! Open your favorite code editor, create an index.html file, and see if you can get those buttons to respond. Once you’ve conquered the calculator, the rest of the programming world becomes much less intimidating.
Check our next guide on “Building a To-Do List App” to continue your journey!